“If God had intended photographers to use more than one light, he would have given us more suns.”
Just about every single shot including the food and still life shots in my portfolio was made with one light. One light in the right place. You won’t need any more except possibly to light a background. In this case make sure that they light the background, and do not spill back on to the subject. Use barn doors or large black sheets of card if necessary.
Very early in my career I learnt that light bounces around all over the place in a white studio. This is unwanted light. When I worked for top food photographers and fashion photographers like Barry Lategan, we actually blacked out the studio with drapes or black screens. Great for glassware too. I ordered funeral drapes to cover an entire studio when I was asked to light a “Finish” (the dishwasher stuff) TV commercial in Milan. The essential shot was of a glass. How do you get a glass to look sparkling clean? Answer, outline it in black, make it totally transparent and have one clean reflection of light on it.
How do you do that? Black out the studio; this creates the black edges which are the walls reflecting in the edges of the glass. Use one ‘window’ type light. In this instance I used a 6×4 sheet of opaque white Perspex and stuck some halogen floods behind it. Result – one clean reflection of soft light, no glass to be seen, just the black outline of one. It looks as clean as a whistle because the glass is invisible! The actor doing the demo in the commercial looked good too, with a similar lighting quality to that in my stills. The cameramen were two old hacks from Rome who scoffed in bemused wonderment at this 22 year old kid who had made the studio look set for a funeral. The drapes were all that the three funeral companies could provide. However, the results were crystal, the client was thrilled, I was a hero for a day, and I got more work from the production company who shot the ad. This lighting style was often copied after that, and is still the basis of many British commercials today.
So where were we? Yes one light. One light in the right place. At John Cowan’s studio, I persuaded John to have the entire walls of the studio painted black to which he agreed. Why black? So that the light does not bounce all over the room filling in shadows where you want shadows. To start with black and then paint with light gives you much more control over your lighting. It makes you the master of it. It gives you the contrast you want without having to print on grade 4 paper, thus allowing more detail in mid tones. I painted my studio in Milan black, and would do the same today. It gives you a quality that is sharp and precise.
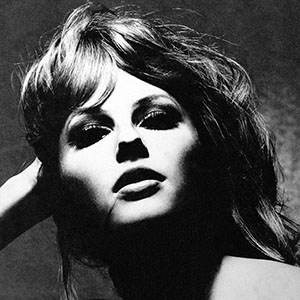
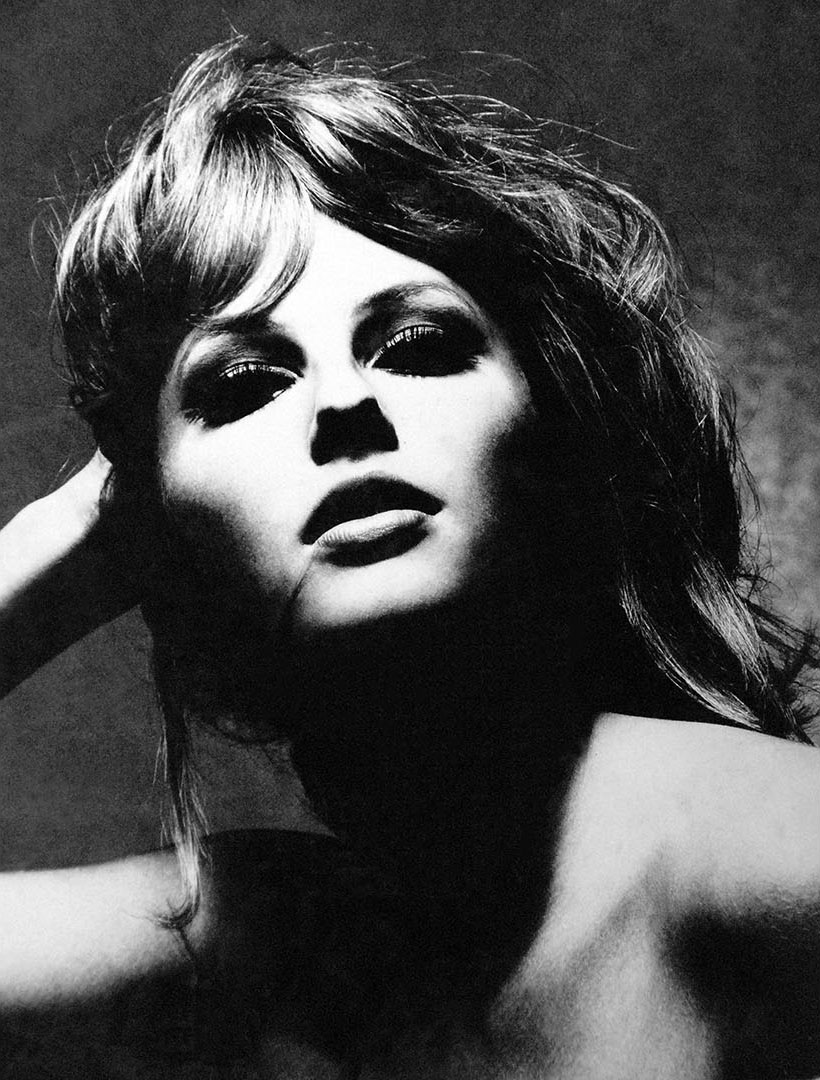
OK so where does the One Light go? More or less above your own head and slightly above the subject. This will slim the face by putting the cheekbones in shadow if the model is facing you head on. Take a look at the head shots in my portfolio and look where the shadows are. Then figure out where the light is. Above the camera, maybe slightly to one side. This should be the side the model faces if the shot is three quarters on or the shoulders are three quarters on. When you have set up, always use a tripod to establish your camera position and then adjust the light until it is exactly where you want it. Don’t run around the model with your camera in hand. It may look good in the movies, but it will look crap in your contacts, with no consistent lighting whatsoever.
Just one more thing, what sort of light you may ask? The light should be intense but soft, so a single umbrella is fine, a soft box is fine, and a bowl light is excellent. This is where the flash head is reflected into a shallow bowl and the head is shielded. If the bowl is then opaqued by a thin sheet of plastic, you will get the same quality as some of the Vogue photographers. It is a very flattering light. You can tell when it has been used by top photographers. You will see the circular highlight with a black center reflected in the model’s eyes.
OK folks so that’s how I light head shots (and many of the top guys I have assisted). Give it a whirl and see if you can take some shots that stun you, the girl you are shooting, and the horse I rode in on.